UE5) 외부 플러그인 적용(Assimp)
AssImp를 이용한 런타임 모델링 임포트
Assimp 제작자가 친절하게 UE에서 사용하라고 비공식 플러그인을 제공하고 있다.
일단 내 수준에서 복잡한 머터리얼은 사용 불가능.
다음과 같이 외부에서 모델을 불러올 수 있다.
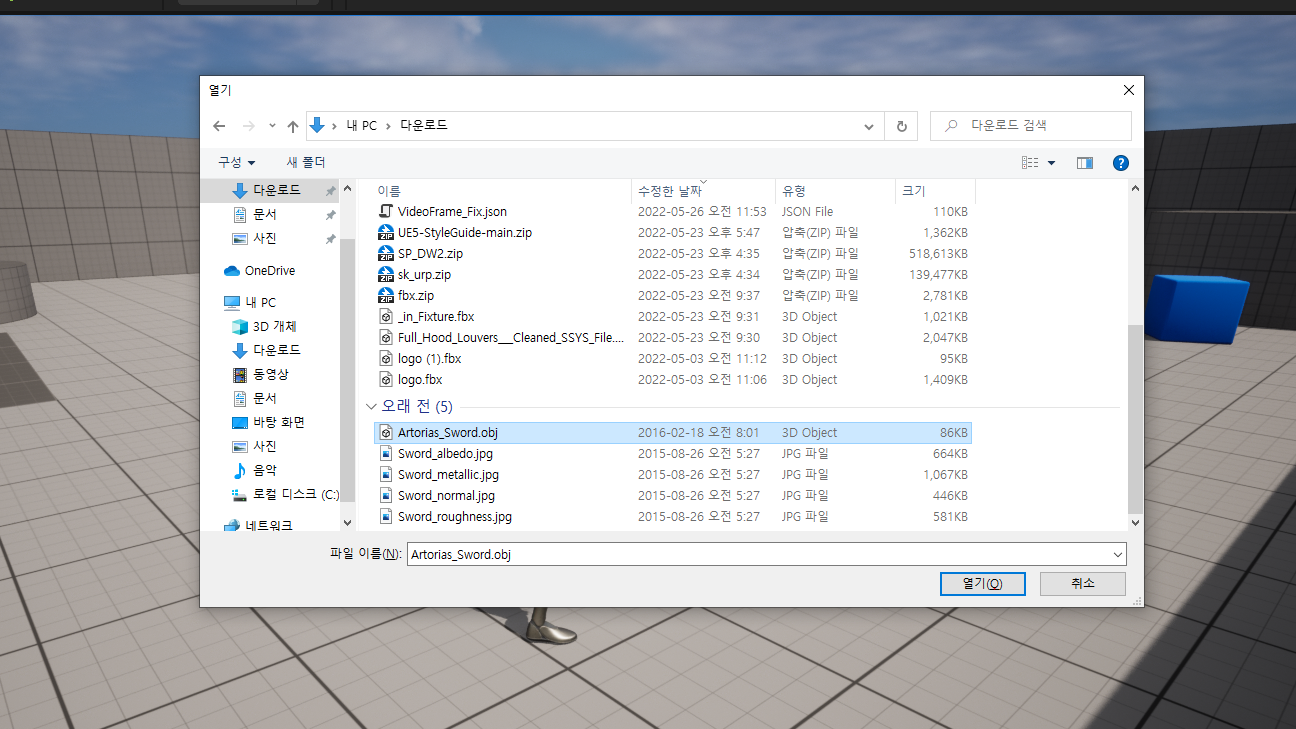
1. 다이얼로그 생성
UAssimpFunctionLibrary::OpenFileDialogue(TEXT("3d 모델링 파일 선택"),"","","",0,outString,false,scc);
라이브러리의 해당 함수를 이용하면 파일 선택 다이얼로그가 생성됨.
선택된 파일의 경로가 참조된 배열에 저장됨.
2. 비동기 로드
UAssimpFunctionLibrary::ImportScenesAsync(outString,this,OnProgressUdpated,OnImportSceneComplete);
위 함수로 선택된 모델을 비동기적으로 로드 함.
두개의 델리게이트가 요구되는데, 하나는 로딩 진척도에 따라 호출되는 델리게이트,
나머지 하나는 로드가 완료 된 후 호출되는 델리게이트이다.
3. 로드가 완료된 후 코드 정의
로드가 완료된 후, 프로시저럴메시컴포넌트를 이용해서 절차적으로 불러온 모델을 그려야 한다.
코드설명
for (class UAIScene* s : ImportedScenes) { //... }
모델파일은 내부적으로 Scene이 존재하며, 해당 씬을 읽어오는 것이다.
가져온 씬을 루프돌며 모델링을 들고오기 위한 코드다.
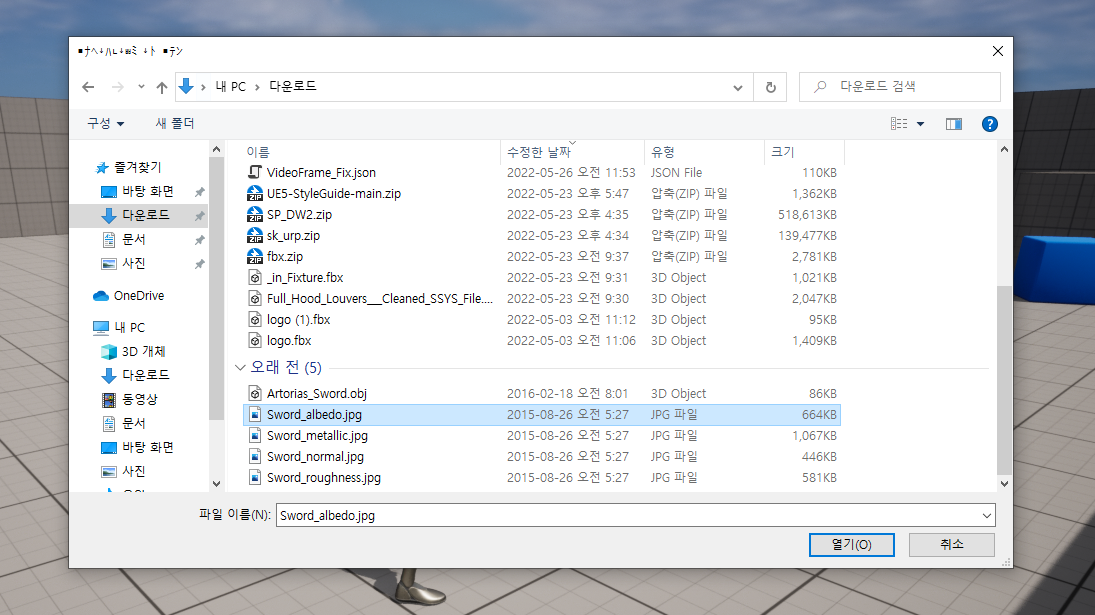
//텍스쳐를 가져옵니다.
{
  bool bOpen;
  TArray<FString> Path;
  UAssimpFunctionLibrary::OpenFileDialogue(TEXT("텍스쳐 선택"), "", "", "", 0, Path, false, bOpen);

  if (Path.Num() <= 0) {
    return;
  }

  auto texture = UKismetRenderingLibrary::ImportFileAsTexture2D(this, Path[0]);
  if (texture) {
    MI_Material->SetTextureParameterValue("Texture", texture);
  }
}
안타깝게도 가져오는 모델파일에 따라서 머터리얼이 있을수도 없을수도 있다.
없는 경우를 기본이라고 생각하고, 다이나믹 머터리얼을 이용해 읽어온 택스쳐를 넘겨주는 방식으로 했다.
이 경우 복잡한 형태의 머터리얼을 사용할 수 없다
참고로 MI_Material은 다이나믹 머터리얼 인스턴스이다.
//프로시저럴메시로 모델을 그립니다.
			for (auto i = 0; i < s->GetAllMeshes().Num();i++) {
				class UAIMesh* meshs = s->GetAllMeshes()[i];

				if (meshs) {
					TArray< FVector > Vertices;
					TArray< int32 > Triangles;
					TArray< FVector > Normal;
					TArray< FVector2D > UV0;
					TArray< FProcMeshTangent > Tangents;


					meshs->GetMeshDataForProceduralMesh(Vertices, Triangles, Normal, UV0, Tangents);
					ProceduralMesh->CreateMeshSection(i, Vertices, Triangles, Normal, UV0, TArray<FColor>(), Tangents, false);
					ProceduralMesh->SetMaterial(i, MI_Material);
				}
			}
플러그인에서 제공하는 함수로 프로시저럴 메시를 구성할 지점들을 받아온 뒤(GetMeshDataForProceduralMesh),
받아온 내용으로 프로시저럴 메시를 구성한다(CreateMeshSection) 이후 생성했던 다이나믹 머터리얼을 설정한다(SetMaterial).
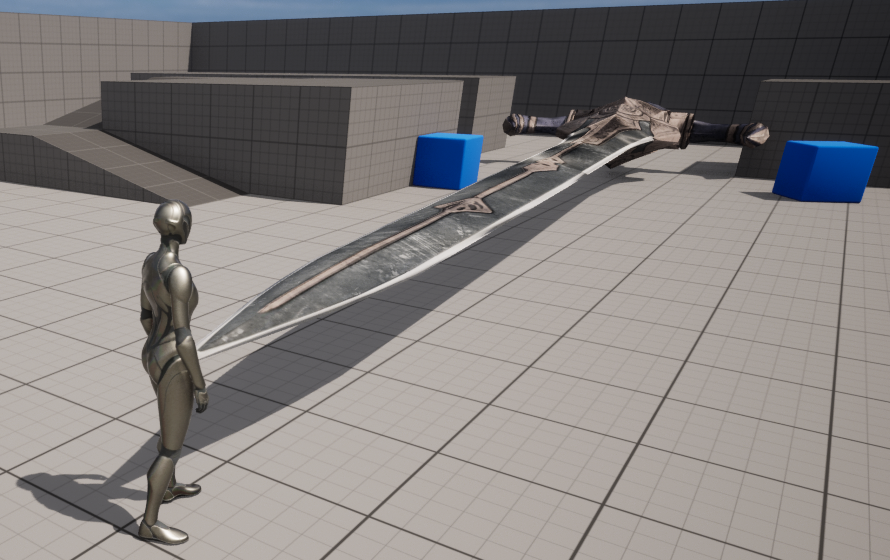
사용 예시
1. 모델링 불러오기
2. 베이스 텍스쳐 선택
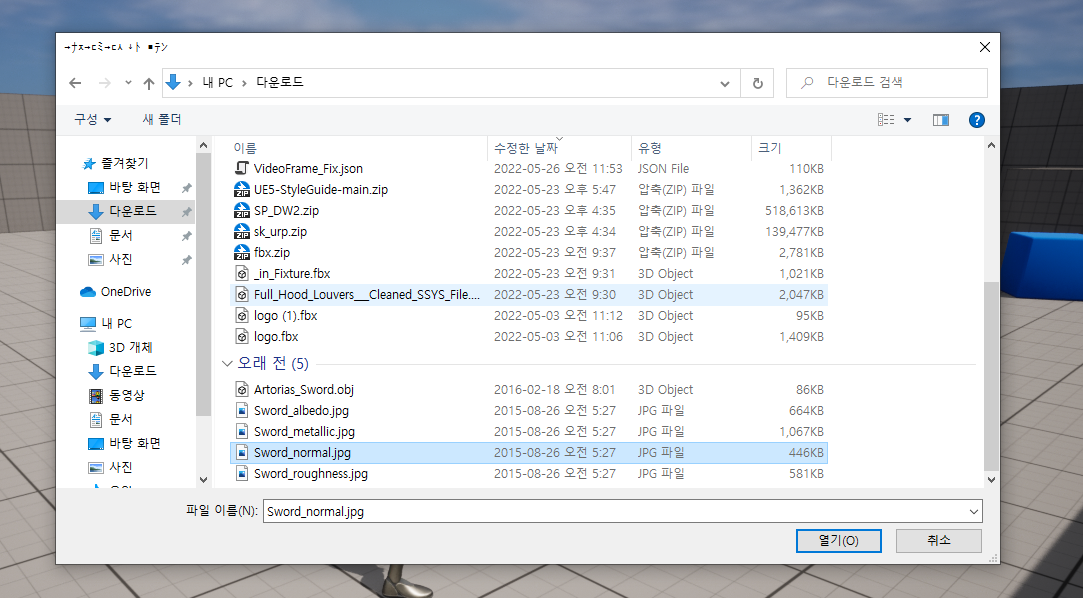
3. 노말맵 선택
4. 확인